Create Form
Step 1: Add a new form
-
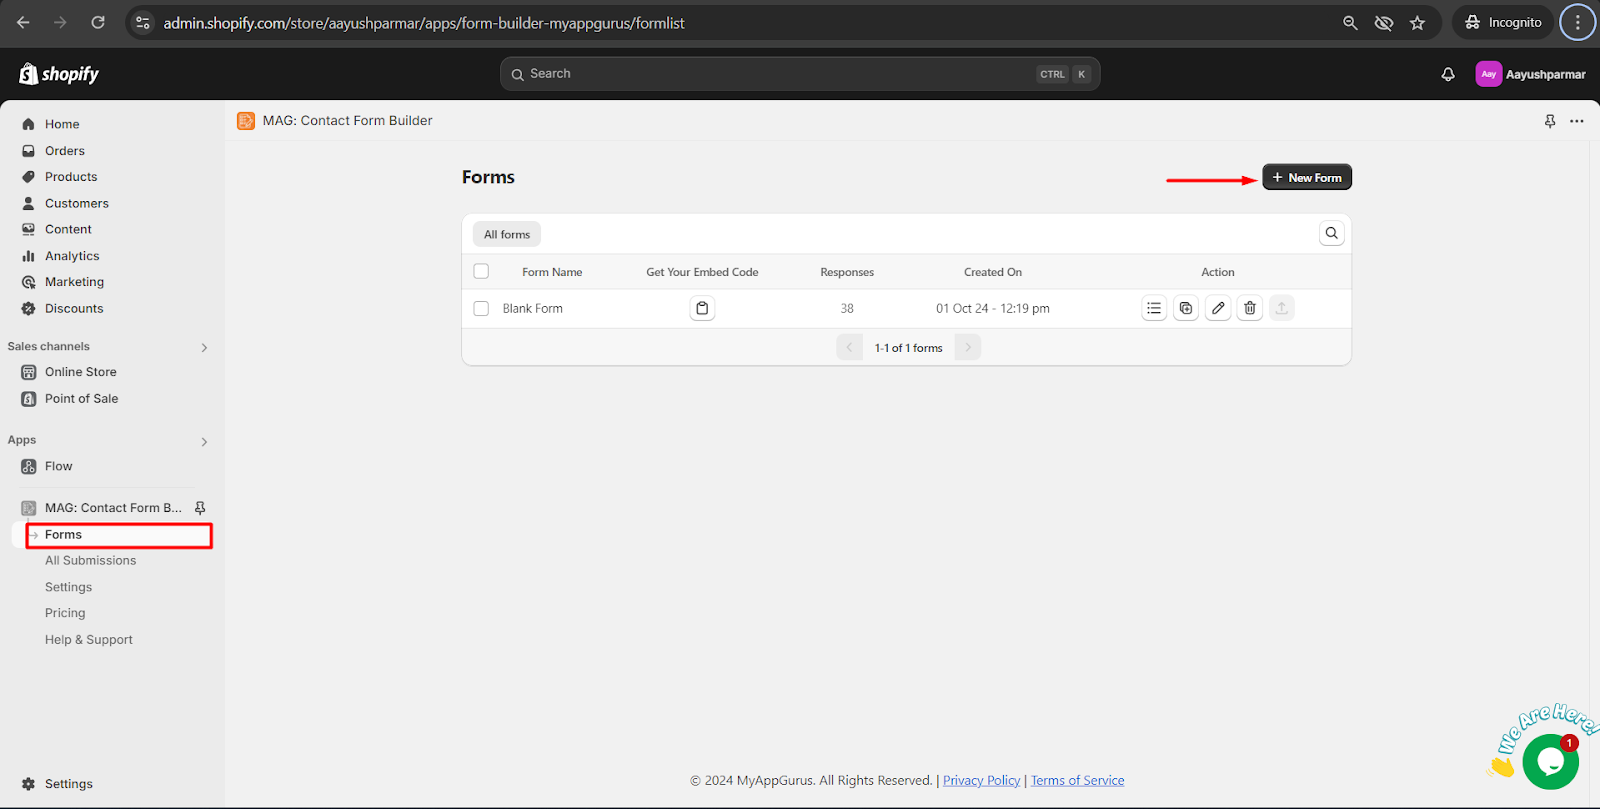
Open Form Builder Admin Panel> Click Forms> Click New Form Button
-
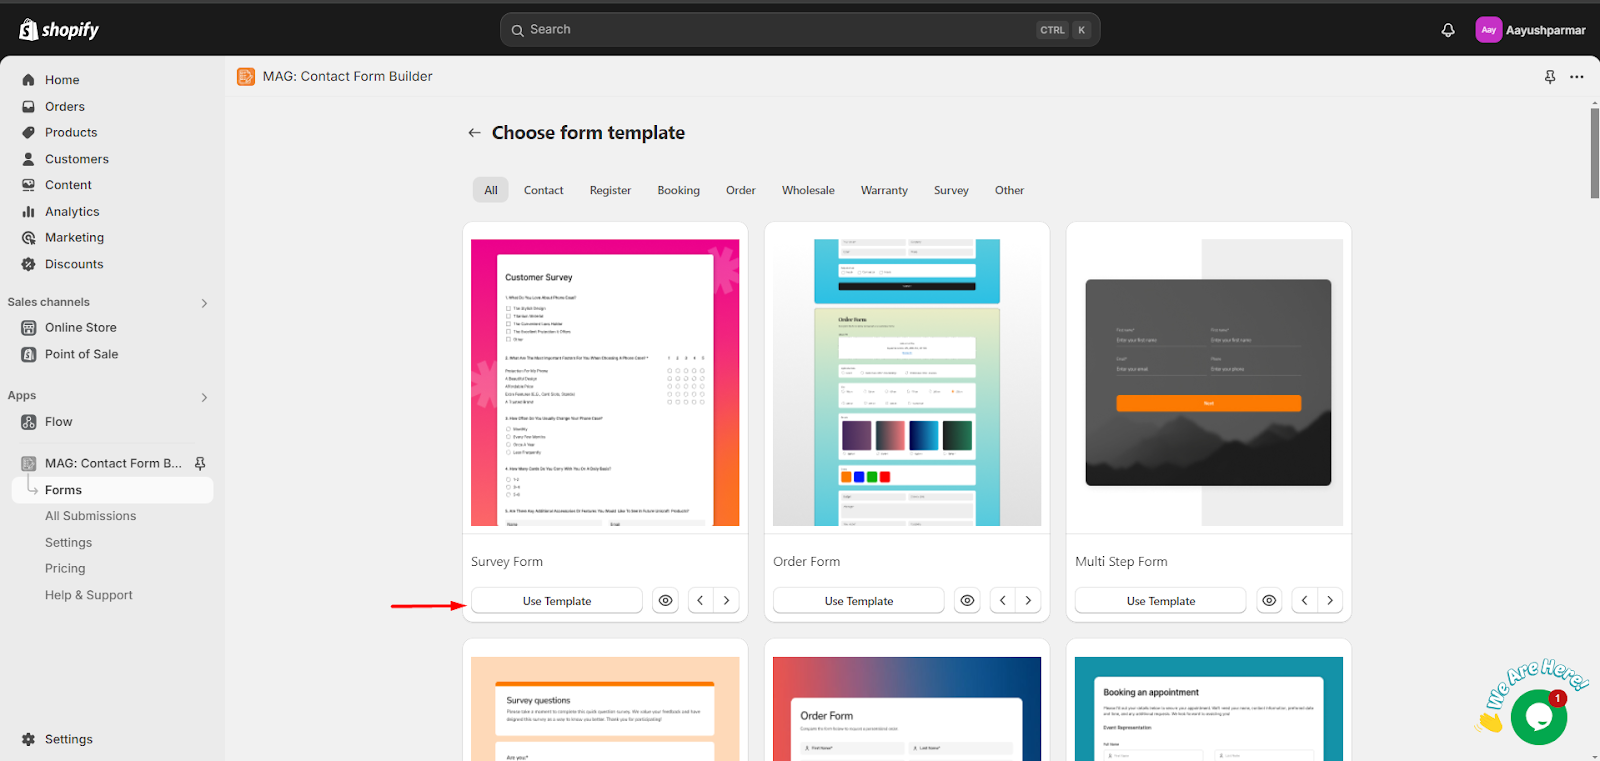
Use the template as per your requirements.
Step 2: How to configure a new form
-
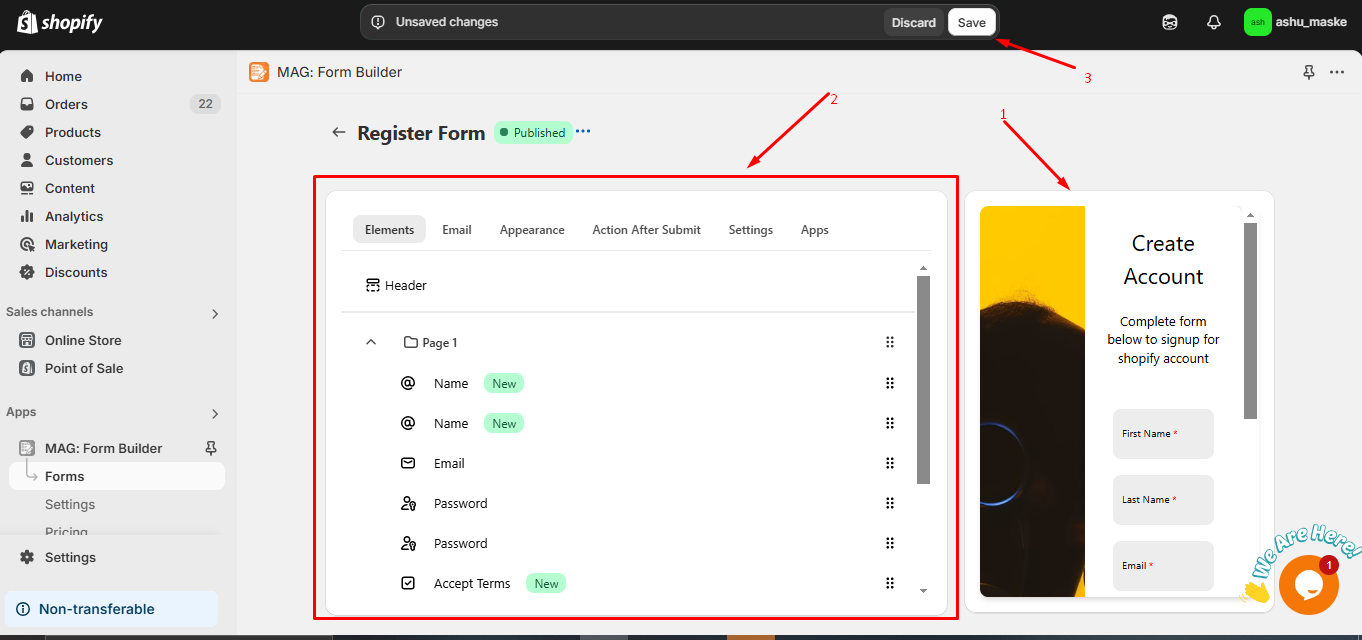
Here we've used a form from a template Pre-built form named Register Form.
-
The building form page divided into several parts
-
Elements:
-
Header
-
Click on Add the Elements and more than 30 different elements will be visible
-
Choose the Elements you want in your form (one at a time)
-
By clicking on Add Page, You can add more pages to the form (Applicable for Multi-page/Multi-Steps Form)
-
-
Click on the Footer and you can see multiple options for setting up the buttons
-
If you want to add the Reset button on the form, choose it accordingly
-
If you want to rename the Submit button label
-
If you want to rename the Next/Previous buttons label (Applicable only for multi-step/page forms)
Footer
-
-
-
Email:
-
Admin Email Setting:
-
For setting up the email notification (up to 3 Ids)
-
Can set the admin notifications email thread by using the various options
-
-
Auto Responder Email Setting:
-
You can choose emails that are added to the form element or can choose a user account email address
-
Can set the auto-responder email thread by using the various options
-
-
-
Appearance:
-
Layout:
-
Default: The form will be visible as it is
-
Boxed: The form will be visible like a box means forms will be shown in the box
-
Float: Form will be visible in the floating window
-
Popup: The form will be open in the popup window
-
-
Trigger Action:
-
Can choose the triggering action as per your requirement
-
-
Image:
-
Can add any image in the form with the position as per the selected and feasible form template
-
-
Form Customization:
-
Can customize the form as per the requirement in terms of font size, form width, field styles, Colours of button/text, and Form Background
-
-
-
Action After Submit:
-
Action After Submit: Can choose actions from the dropdown after clicking on the submit button what will happen
-
Title: Can show the notes after clicking on the submit button
-
Message: Can show the message after clicking on the submit button
-
-
Settings:
-
General: Setup the general settings of the created form
-
Error Message: Setup the error message by using this option
-
-
Apps:
-
Integration Possibilities
-
Shopify
-
Kalviyo
-
Mailchimp
-
Google Recaptcha
-
Slack
-
Google Sheet
-
Zapier
-
-
For a Detailed Guide Please CLICK HERE
----------------------------------------------------------------------------
You're now all set to use forms on your store! 😊
We'd also love to hear your feedback by This Link.
If you have any questions or need assistance, feel free to reach out to our support team via Live Chat.!
You can reach us by writing an email to support@myappgurus.com or book a 1:1 call with our product owner through This Link.